
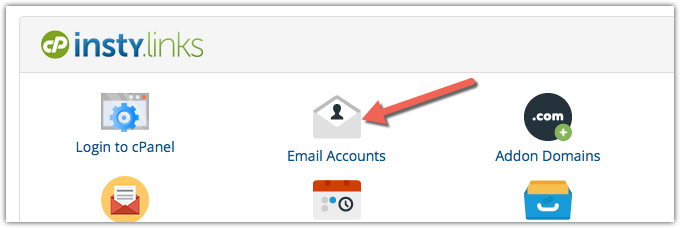
2.) Scroll down to the Insty.links section, and click the 'Email Accounts' icon.
3.) Under Add Email Account, add the email that you would like, choose the domain, and set the password and click 'Create Account'
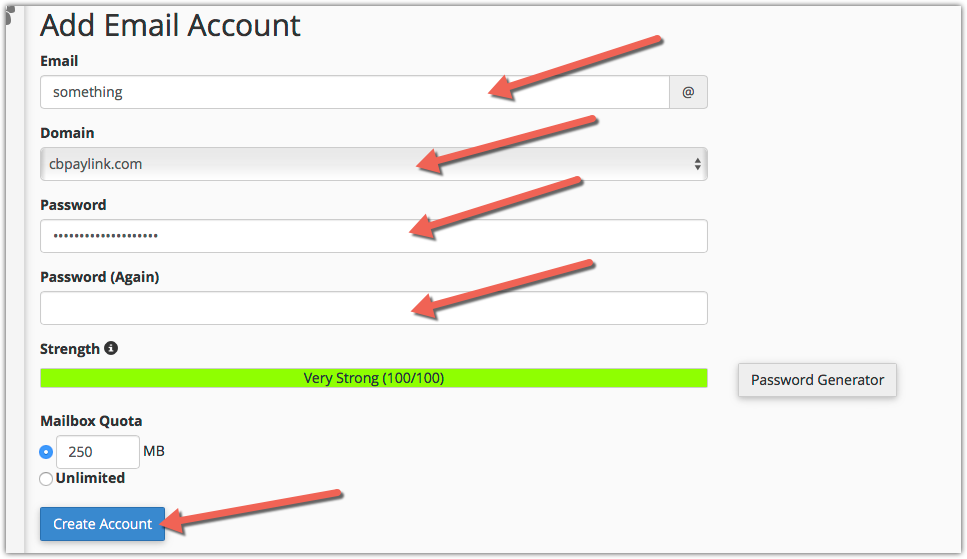
Please be sure to use a STRONG password!
Once your email is added, you can access your email in a couple ways:
- Webmail: You can access webmail through this screen, or on the previous screen in the client area under the "Login to Webmail" icon
- Email Client (Outlook, thunderbird, Mac OS Mail, devices, etc) - Click the link in the Email Accounts section called "Setup Mail Client". That will walk you through the information you need to setup your device or email client.
