
In this article, we're going to create a new lead generator for a free PDF download.
By going through the steps in this article, you'll be able to create, manage and edit your lead generation campaigns all from the comfort of Insty.pages, so you don't have to worry about making confusing changes, or negatively affecting your Wordpress site.
Quick Overview:
We are going to create a new list in Engage to hold our new leads, then create the form for embedding on the site, finally we'll setup the page where your new lead can download the PDF.
NOTE - If you haven't gone through the Incredibly Successful Website course yet, we encourage you to do so. That will make the steps in this walk through much easier to understand.
Step 1: Create the new list in Engage Email Marketing.
From your client area, click into Engage. When in Engage, click View All Lists, then Add a new list.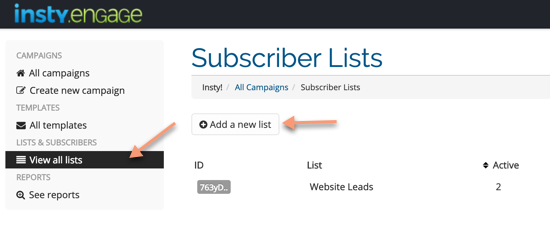
1.) Give your new list a name that will help you identify what these leads are. Ex. Free PDF Download Leads
2.) Click save. Then, you can exit Engage. If you would like to setup a thank you response, click View all lists again, then the pencil for the new list you just made. That will bring you to the settings.
Step 2: Create the opt in form for your Wordpress site.
For this step, we're going to use the Pages system to setup a new opt-in form, then use the Lead Generator plugin to embed it anywhere in your WP site.
When you are viewing the KB article below, you'll see the portion where we select the Engage list. You'll want to select the list that you created above.
Please see this KB article: (will open in a new window)
https://my.insty.hosting/client/index.php/knowledgebase/320/WP-PLUGIN---Adding-an-Opt-in-or-Lead-Generator-Form-To-Your-Wordpress-Install.html
After viewing that KB article and following the steps inside, at this point, you should have your opt-in form setup inside your WP site.
Step 3: Create the download page for your PDF Report.
Now that we have our new list, and our new opt-in form, we need to set a place where the lead will be directed to after the opt-in.
For this step, we're going to go back into the Pages site we setup for our lead gen form, and create a new page that will hold the PDF form.
1. Login to your Pages site and click into the designer of your Lead Gen Form site
2.) After your site loads, you'll want to add a new page. 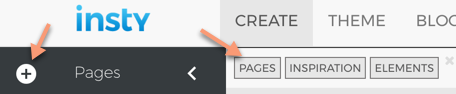
3.) We're going to create the new download page. In the page template area, you'll see a page that looks like the page below: 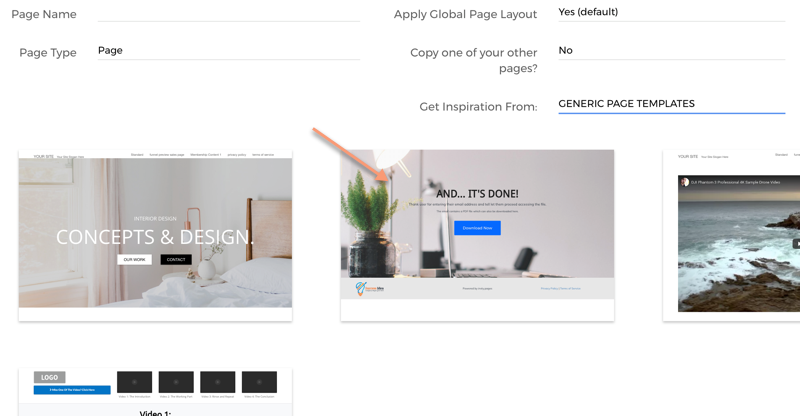
That is a generic download page and has a download button inside. If you like, you can search through our other templates by clicking the 'Get Inspiration From' and selecting Funnel or Landing Page templates, and then click into those templates to view individual pages inside that template. If there is another download page inside that you would like to use, feel free to use that or to build your own download page from scratch.
For this article, we are going to select the page listed there for our download page. Select the download page and give your page a name under 'page name'. Ex. PDF Download.
Step 4: Attach your PDF to the download button.
Now that we have our download page, we just need to upload your PDF to that page so when the click on the download button, they will get your free report.
1.) Navigate to your newly created download page: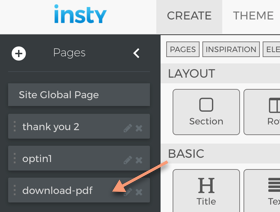
2.) Make any changes to the page that you would like. (Replace background pic, change text heading, etc).
3.) Click on the settings for the download file element: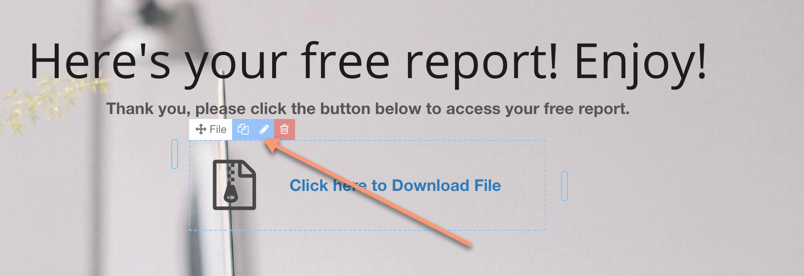
4.) Fill in the file text, click the button to choose your PDF from your computer, and then click Upload.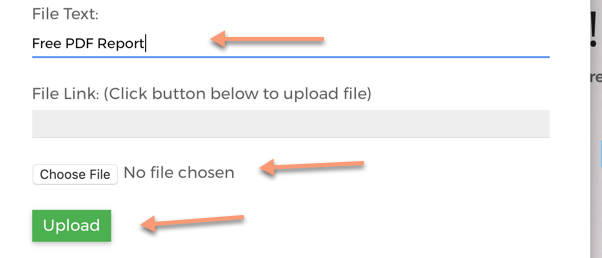
4.) Save the page and publish.
Ok, now we have our download page with our PDF report attached. The last step is setting up your form to redirect to the download page!
Step 5: Making sure your leads get redirected to the download page.
In this step, we're going to setup our opt-in form to redirect leads to the download page. To do this, we just have to go into the form you created in step 2, and then set the redirect point.
1.) Click into your optin page.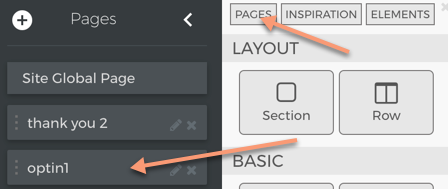
2.) Go to the settings of your form: (there is a portion of text that reads 'This is a form widget, click here to work on form" - it may be easier to get to the form settings by clicking that text first, then click the pencil to get into the settings.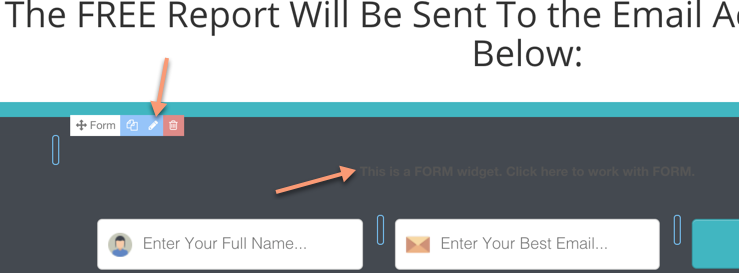
3.) Set the redirect option for the form: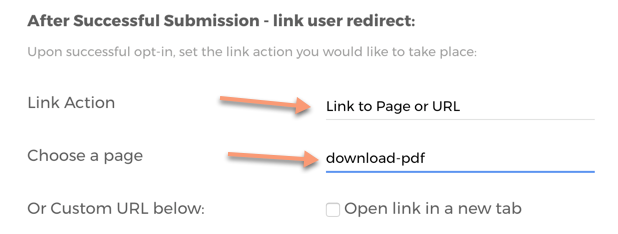
4.) Click save & Close, Save the page and then publish the site.
That's it - You're all set!
Since you are using Pages to manage your opt-in forms, you can make all the changes to the form, setup the download page in Pages and make changes to settings without having to edit your Wordpress site. In the future, if you want to change anything with the download page, you can do this inside your lead-get site that you setup in Pages.
I hope this walkthrough was helpful. If you have any questions at all, please shoot us a message in the support desk and we'll be happy to help!